A few years ago, a friend asked me who my dream makeup artist would be. That’s quite a loaded question for a beauty editor, to be honest. After all, I’ve been lucky enough to work with some of the greatest talent in the biz (I still pinch myself every single time!), so to call out just one pro feels nearly impossible. That said, I distinctly remember name-dropping Nina Park. I just know she’d make me look the best I ever have in my entire life, I recall pointing out.
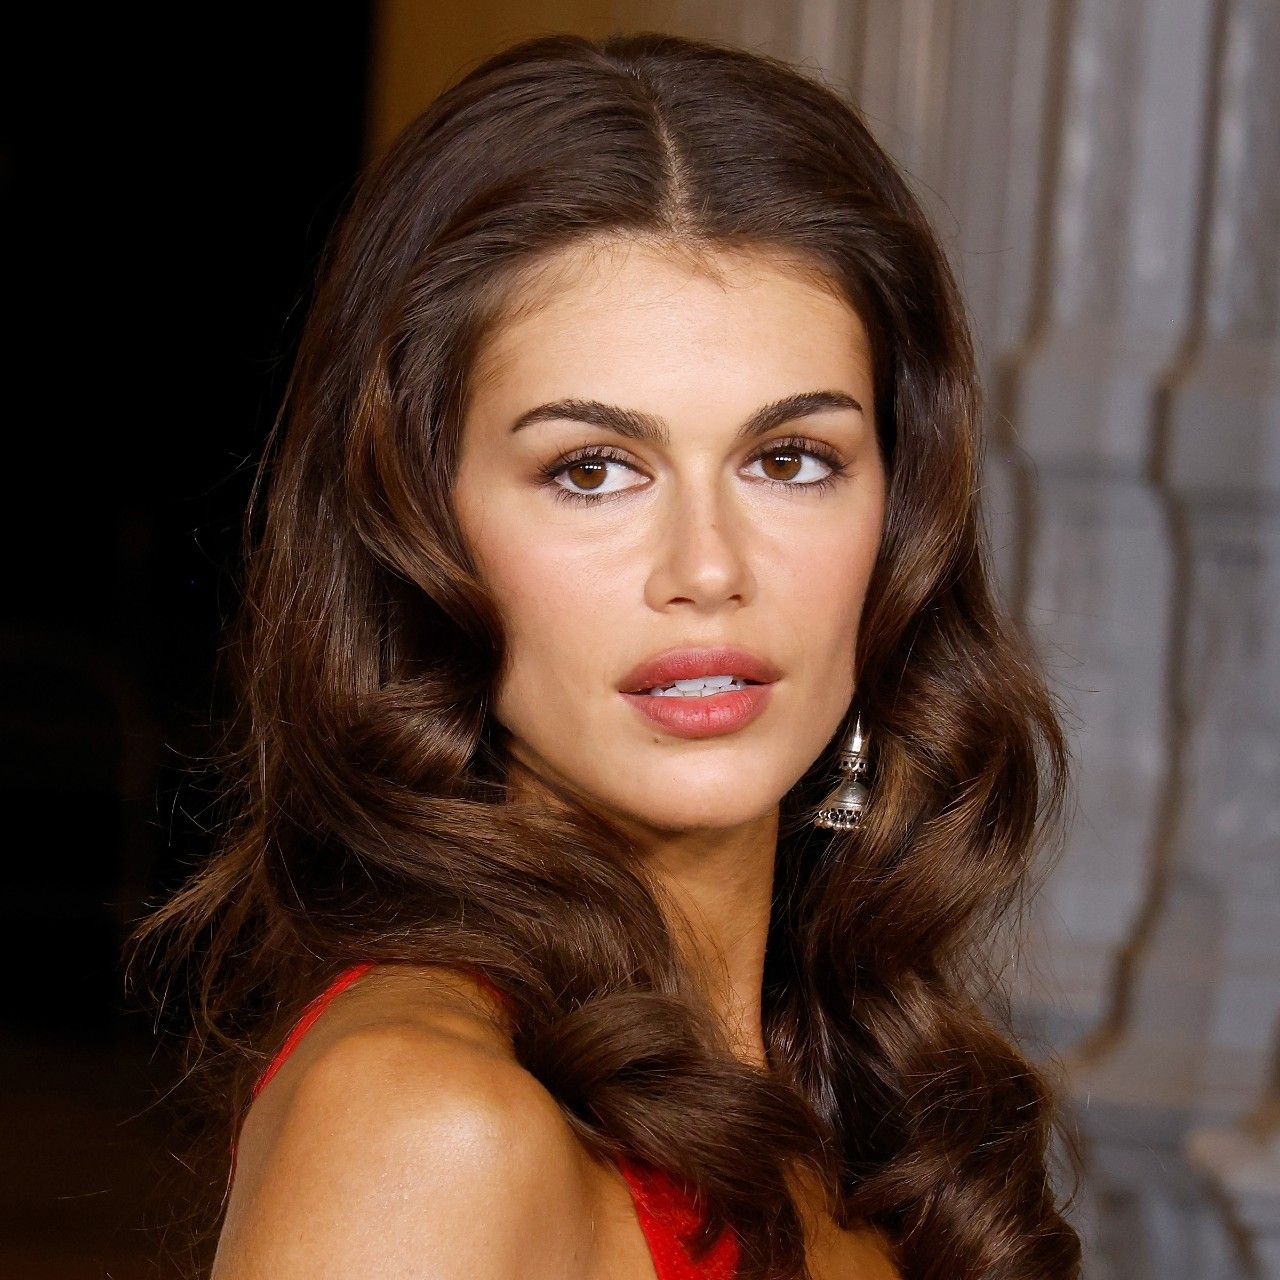
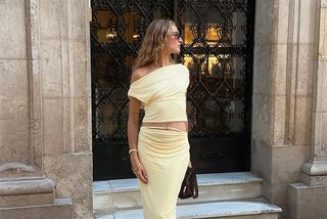
Several years later, my answer still hits—arguably even more so, as “Nina Park makeup” has reached peak virality on TikTok. Beauty fans love her special knack for transforming her celebrity clients (such as Zoë Kravitz, Mia Goth, Kaia Gerber, and Margaret Qualley) into divine versions of themselves: perfectly blurred and sultry but never overdone. Even Park’s industry peers are drawn to her techniques and whip up their own versions of her signature looks. As celebrity makeup artist Alexandra French once declared, “Nina Park is truly your favorite makeup artist’s favorite makeup artist.” I’ll just leave that there.

(Image credit: Getty Images; Karwai Tang/WireImage)
Park’s overall beat is worthy of hanging in the Louvre, but her go-to pouty lip is truly the stuff of legends. I’m always on the prowl for a lip combo that makes people wonder if I had a fresh prick of filler without looking like I came straight from the dermatologist (you feel me?), and that, my friends, is Park’s specialty. You can find hundreds of artist-led videos speculating on her specific approach, so I decided to comb through the library and create the all-time guide second only to speaking with the iconic MUA herself. Keep scrolling to perfect Nina Park lips in six easy-to-follow steps.
1. Contour the Perimeter
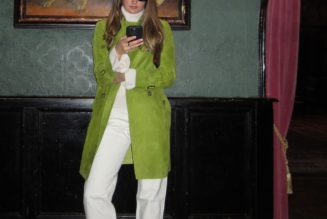
To create that soft, halo-like look, “I think there’s a bit of a cream, bronzy situation going around the perimeter of the lip,” poses celebrity makeup artist Katie Jane Hughes in a tutorial video. Melissa Murdick agrees on her own page, using a “very small eye shadow brush” to softly blend the contour product around her lip border. “Do this like you would do a smudgy lip liner,” the celebrity makeup artist adds. Meaning, don’t be too precious about staying inside the lines.
In fact, Hughes recommends tracing your outer vermilion border (aka the lighter halo around your mouth) as opposed to the pigmented part of your lips to create a subtly overlined shape. Just make sure you buff the edges well to keep the look nice and diffused.

Westman Atelier
Face Trace Cream Contour Stick in Biscuit

Merit
Brush No. 2 Double Sided Eyeshadow Brush

CHANEL
Les Beiges Healthy Glow Bronzing Cream

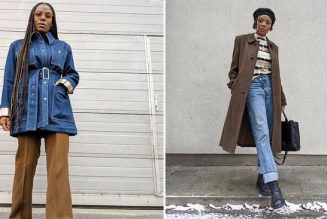
(Image credit: Getty Images; Steve Granitz/FilmMagic)
2. Add Liner and Powder
Next, grab a cool-toned lip liner (or even a precise eye shadow stick) and trace exactly where you placed the cream contour. “That’s basically going to do the same thing but more defined,” Hughes notes, which helps concentrate the color and make those shadows stand out. Then, using a small, fluffy brush, Hughes adds a bit of powder on top to lock in the pigment. “Also it’s going to make it look softer and like it’s just part of that person’s face,” she notes.

Make Up For Ever
Artist Color Pencil

KJH.BRAND
Precision Sculpture Stylo

Tower 28
Getset Pressed Setting Powder
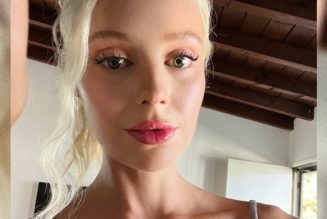
3. Apply Lip Color at the Center
Time to choose your lip color! I’ve identified plenty of Park-approved lippies (find them below!), but generally, feel free to stick to whatever “your lips, but better” shade you fancy. Instead of swiping it all over, both Hughes and Murdick recommend applying it on the center of the lips before diffusing the pigment outward toward the contoured edge. It’s easier to do this with a brush instead of applying the color directly onto your lips, as the former gives you more control.
“Start creeping the color close to that lip edge until [you] get a nice [merging] of the two colors,” Hughes adds. Feel free to add more powder around the lip border to make it look extra fluffy.

Dior
Rouge Dior on Stage

La Beauté Louis Vuitton
LV Rouge Satin Lipstick

Revlon
Super Lustrous Lipstick

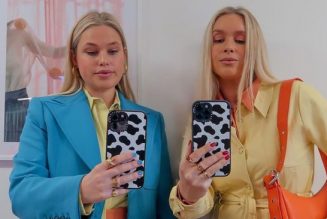
(Image credit: Dia Dipasupil/Getty Images)
4. Define With Lip Liner
Next up: another round of lip liner. Using a warm-toned nude (Hughes prefers Glossier’s pencil in Buff), define the edge of your lips right where the blurred color ends and the contour border begins. Make sure not to draw directly on top of the contour! “I want that fluffy edge to remain,” Hughes shares. “This is also a good time to not sharpen your lip pencils if you want to create this kind of lip. If you sharpen your pencils, you’ll get too sharp of a line.” A crisp, precise line has its time and place—this isn’t it.
“[Draw] right at the actual apex of your lip line,” NYC-based makeup artist Lila Childs further explains in another tutorial video. “A super-thin line kind of in-between all that blurry business.”

Glossier
Lip Line Enhancing Pencil

Victoria Beckham Beauty
Lip Definer: Waterproof Lip Liner

CHANEL
Le Crayon Lèvres Lip Pencil
5. Blur, Blur, Blur
At this point, the color should already appear pretty well-blended, but Hughes grabs a fluffy brush (feel free to rely on the same one you used for the lip-color step) to further blur. It helps if you smile so you can easily see—and buff out—any potential lip lines. You could also blend with your fingertips, but again, a brush will give you much more control.

KJH.BRAND
No. 5 Brush

Nars
#22 Blending Brush

e.l.f. Cosmetics
Fluffy Eye Blender Brush

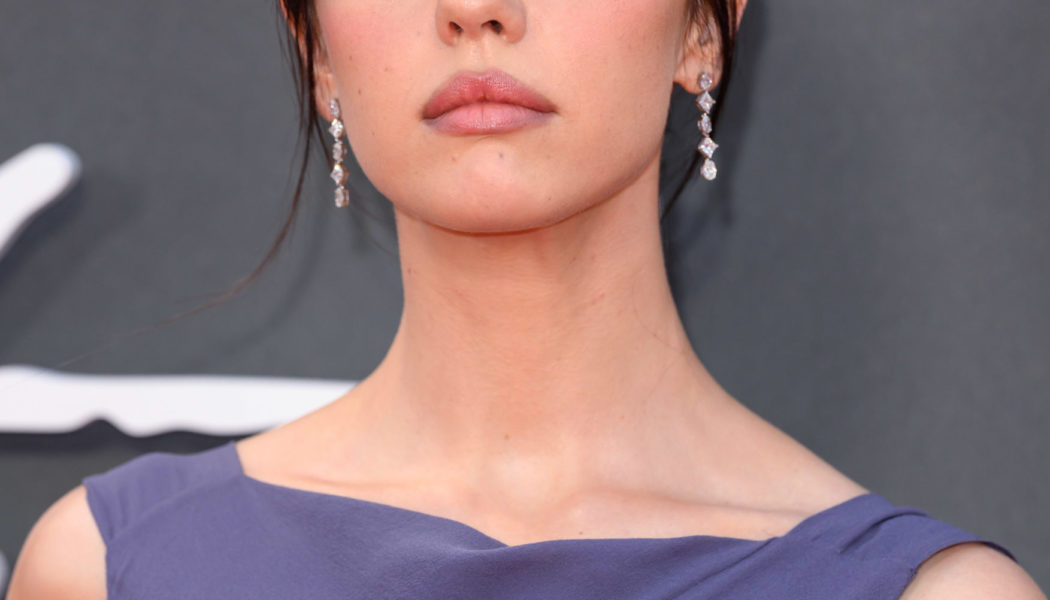
(Image credit: Getty Images; Taylor Hill/FilmMagic)
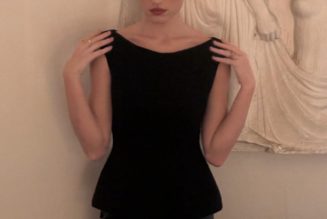
6. Add Some Contrast
Okay, these finishing touches are technically optional, but if you really want to go the extra mile, topping off the look with a bit more contrast (i.e., contour and highlighter) creates even more of a pillowy effect that really stands out in photos. If you’re getting ready for an important event, I wouldn’t skip this step!
First, use a darker shade of lip liner to shade the inside edge of the lip. Again, keep it away from the fluffy border to ensure it stays soft. That deeper pigment will make the blurred line really pop. With the same brush you used for the lip color, “blend it in so that there’s a bit more of a contrast at that lip edge, but that fluffy lip edge is very much on the outside of the defined lip color, if that makes sense,” Hughes explains. It helps to see her demonstrate it in real time (around seven minutes into her video), but she’s basically deepening the perimeter of her lips without messing with the perfectly blurred border, then blending with the seasoned brush to help all the shades mingle.
The final, final step? A simple highlight. “I swear this makes the biggest difference,” Murdick shares, tapping a shimmery cream highlighter directly on her Cupid’s bow and pressing with her fingertips to blend. “That’s what gives it such a pouty, 3D effect.”

rhode
Peptide Lip Shape

MAC
Lip Liner Pencil

Kosas
Shiny Objects
And there you have it! Now, allow me to reiterate that this tutorial is from experts equally infatuated with Park’s technique, not gospel from the icon herself. She might use all eight products, or she might have a quicker version with a single liner and lipstick. (Although, she did reveal to The Face that “if you looked in [her] kit, the ratio of lip liners to everything else would probably concern most people.”)
“I don’t know, but I also kind of don’t want to know,” Hughes declares. “I love the mystery of it.” While the journalist in me won’t ever stop sleuthing for more info, I have to admit that playing around with different methods is half the fun.
Explore More: