Ash K Holm is a Who What Wear editor in residence, a celebrity makeup artist and educator, and the co-founder of the luxury med spa Dripology.
Whenever I get asked what my signature look is, the answer is easy: I am all about winged eyeliner. It’s my go-to when I’m doing my own makeup and when I’m working with clients like Kim Kardashian, Lindsay Lohan, Kris Jenner, and Alix Earle. I love a winged look because it can be tailored based on eye shape and personal style. Subtle flicks, smudged-out wings, strong and bold lines—the options are endless! Whether you’re a seasoned pro or picking up a liquid eyeliner for the first time, here are my five foolproof tips for mastering a flawless winged-eyeliner look.

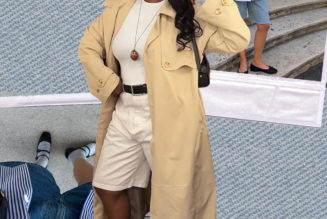
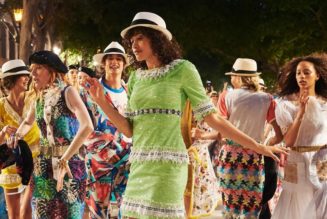
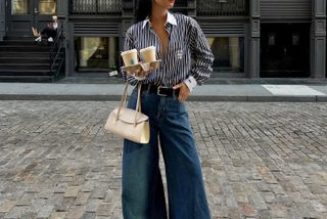
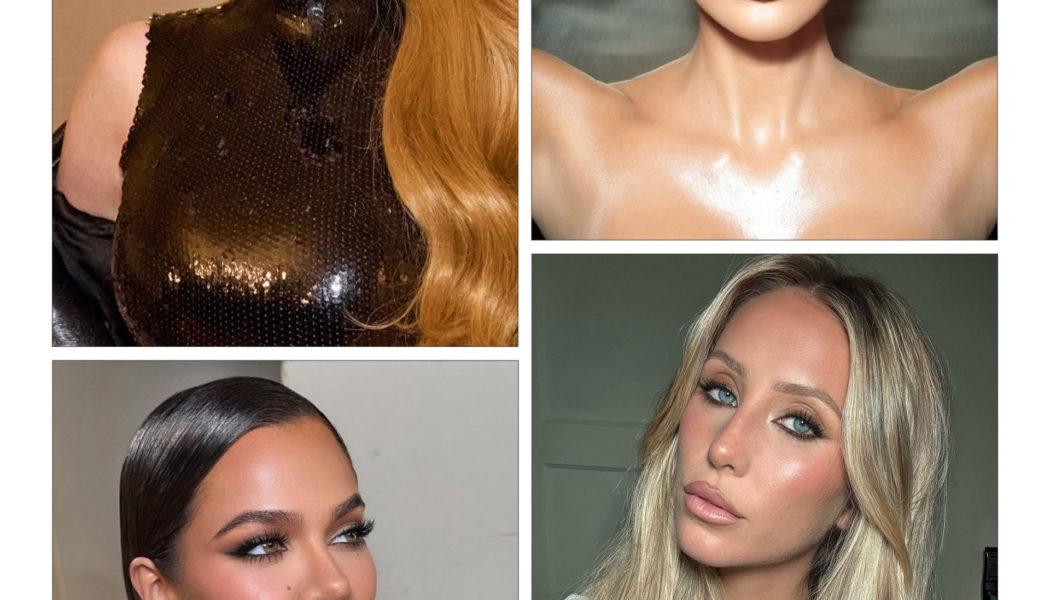
Here are a few winged eyeliner looks I’ve created for my celeb clients. They range from soft and subtle to bold and smoky. I love how versatile winged liner is!
1. Prep the Eye Area
Before I ever even reach for an eyeliner, I start with eye prep. Make no mistake. It’s just as important as skin prep! (Here’s my expert guide to all things eyecare.) I always start by cleansing the eye area with a dedicated eye wash or wipe to create a blank canvas. Once your eye area is clean and prepped for makeup, you can apply any eye shadow you like. Then, it’s on to eyeliner.

Peep Club
Soothing Coconut Balm Wipes
My go-to for prepping the eye area and for cleaning up any smudges or mistakes at the end.
2. Create a Customized Guide
I recommend creating a guide to work off of when creating a winged-liner look. First, let the outer corner of your brow dictate how high you should angle your liner. Imagine the eyeliner reaching up to meet the end of the brow. How long you make the line is up to you!
Next, if you’re just getting started with winged liner, I recommend applying a matte black or brown eye shadow as an outline. Doing this gives you more control and creates a template for where to apply your liquid or gel liner.
Once you have your guide, you can go in using a liquid or gel liner. Hold the pen or brush flat and at an angle, slowly dragging it along the outer corner of your lash line. Keeping the brush tight to the lash line will help you elongate your line.

Natasha Denona
Eye Sculpt Texture & Tone Eyeshadow Palette in Soft
I like to use shade N2 or N3 to create a guide for eyeliner. These shadows are super pigmented and velvety soft, giving you a lot of control.
3. Take Your Time (Winged Liner Is Never Rushed!)
A flawless winged-liner look requires patience, so take your time and go slowly. Tilt your head back and line along the lash line using short, featherlike strokes until all of them are connected. You’re basically pressing the liner on and slowly gliding it across. Trust me—patience is the key to precision!
Bonus Tip: If you have hooded eyes, look straight into your mirror, and never close your eyes while applying your liner. This will create the right winged shape and ensure the eyeliner is visible when your eyes are open.

Tom Ford
Eye Defining Pen Liquid Eyeliner Duo
When I want to do my winged eyeliner quickly, I always grab this eyeliner.

Inglot
AMC Eyeliner Gel 77
This waterproof gel liner is a super-intense jet black perfect for really bold looks.
4. Sharpen Up the Shape
Once you’ve completed your wing, you can clean up any smudges using a clean angled liner brush and a makeup wipe. Use the wipe to wet the brush, and go in and clean up your line using the brush. Make sure to clean the brush on the wipe as you go to prevent any smudging.

Morphe
M363 Angled Eyeliner Brush
I use this brush to apply gel eyeliner (like the aforementioned Inglot one!) and to clean up my lines, so I always have a few of these in my kit.
5. Perfect It With Concealer
Last but not least, make your winged eyeliner look extra sharp by taking an angled brush and applying concealer by stamping or sweeping it under the wing. This is the final step in creating a flawless, professional-looking wing!

Hourglass
Vanish Airbrush Concealer
This concealer is too good to gatekeep. It’s lightweight with full coverage—perfect for keeping your lines sharp (and covering dark circles).
Watch Ash Create Her Signature Winged Liner Look: