My life has felt more or less like that famous “bus, club, another club” Lady Gaga quote since the beginning of 2026. In a few whirlwind months, I traveled from London to Los Angeles, attended the Grammys, and returned home to New York only to be plunged into the thick of New York Fashion Week. Careening between the airport, backstage meetings, runway shows, and my writing desk has become a game of table tennis, and that’s without factoring in personal life.
Now, don’t take this as a complaint—I live a life I once only dreamed of. From a fledgling beauty expert at 16 years old, I dreamt of one day being a fabulous New Yorker who wears the same, effortlessly cool makeup look from morning coffee with her favorite publicists to the office to a perfume brand’s cocktail party to picking up her gown for an upcoming award show and finally meeting a date for a late-night drink. (Well, the award show thing has only happened once. But it’s a good start.) However, my teenage reverie always depicted my skin glowing and calm, my lashes flake-free, and my lips perfectly painted all day long—no smudges or smears in sight. How wrong I was, until recently.

Who What Wear associate beauty editor Alyssa Brascia before the 2026 Grammys
In the midst of a very busy winter, I found myself checking into The Sun Rose West Hollywood to attend the 2026 Grammys. The event not only served as the crown jewel of my year but also became the crash course I desperately needed in long-lasting beauty thanks to professional makeup artist and content creator Krista Keehus. I sat in her chair around 10:30 a.m. with eye bags like bruises and skin irritated by travel, only to present her with another obstacle: I needed her camouflaging glam to last me into the wee hours of the morning.
Article continues below
Below, the breakdown of what it takes to craft long-lasting makeup that perseveres through 15-hour NYFW days, award shows (plus the after-party), and after-work dates—as someone who’s done it all.
Easy 6-Step Guide to No-Budge Makeup
1. Proper Skin Prep
My stay at The Sun Rose (formerly the Pendry West Hollywood) consisted of some work and play—running around to interview celebrities (read all about my IRL chat with Selena Gomez) and lounging at the rooftop pool for a little R&R before the big day. However, the stark weather change from NYC to L.A. played games with my skin, inspiring new flare-ups of rosacea and eczema. It’s because of this that Keehus had to take extra care with my complexion the morning of the Grammys. Though, she swears skin prep is the key to long-lasting makeup regardless.

Brascia prepping her skin at The Sun Rose West Hollywood in Los Angeles, California
“The skin is the canvas—if it’s not properly prepped and primed, you won’t get the best payoff or longevity from your products,” she explains. This means proper moisturization and priming beforehand, and the makeup artist cites MAC Cosmetics’ Studio Radiance Primer and “a glowy foundation” as her go-to combo for a flawless, no-budge base. However, if a velvet or matte finish is the end goal, she recommends using MAC’s Mattifine Primer.
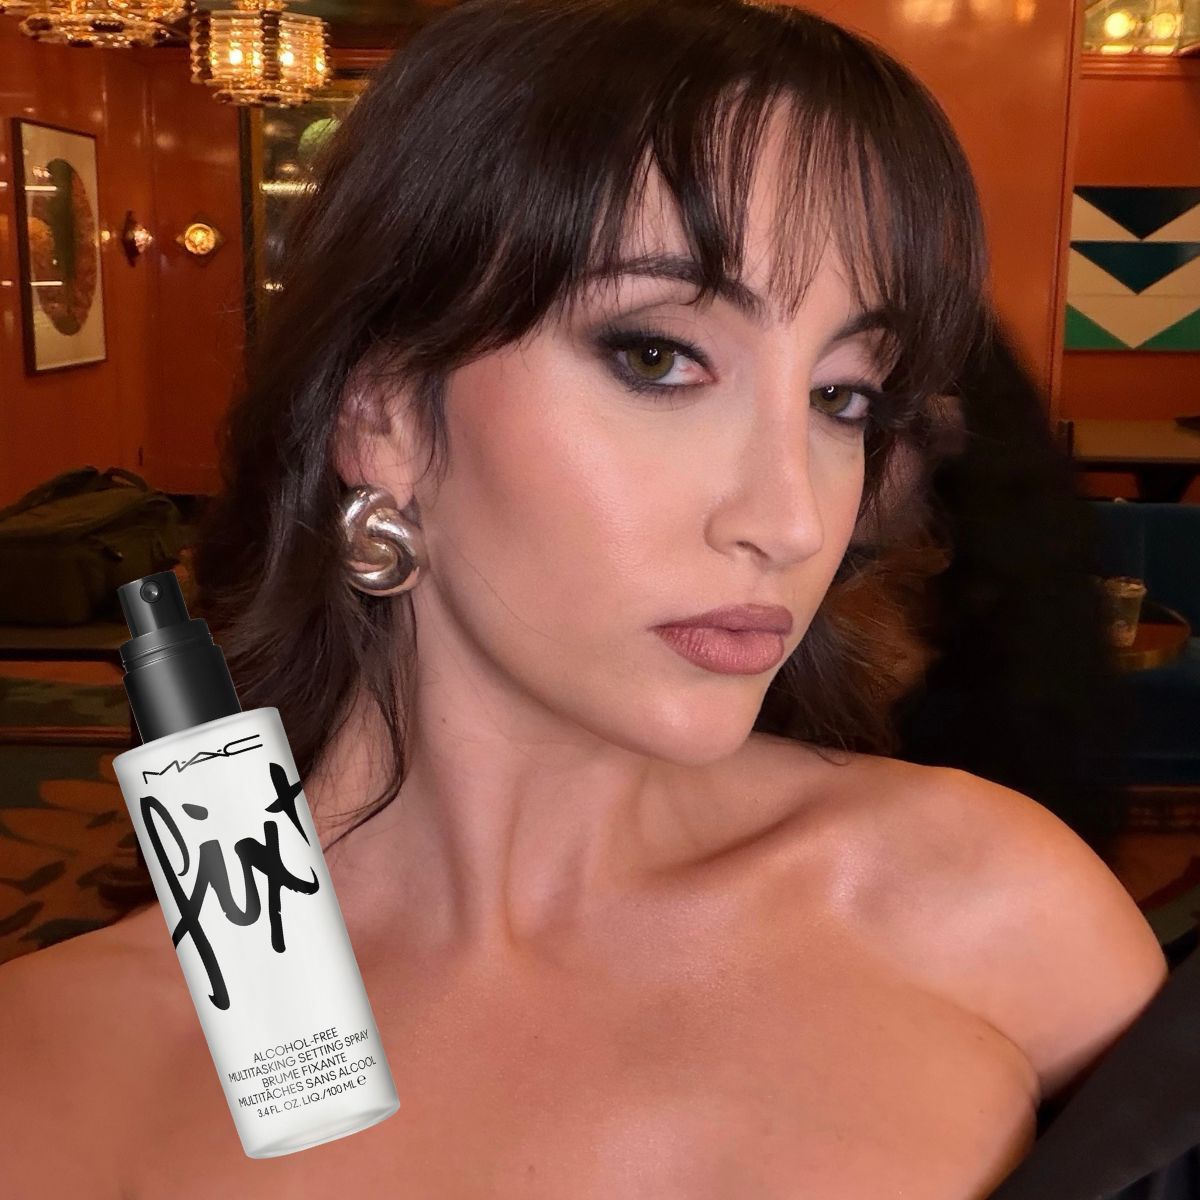
The next step is to set everything with a loose powder and a fine layer of setting spray, MAC Fix+ being her personal pick. “That combination gives amazing longevity while still keeping the skin looking like skin—seamless, balanced, and not overly heavy.” For eyes, she swears there’s nothing better than the brand’s Paint Pots (and I can attest to this—I’ve been using them for 10 years).
Shop the Step

MAC Cosmetics
Studio Radiance Moisturizing + Illuminating Primer
The primer that gave my skin a California glow.

MAC Cosmetics
Studio Fix Mattifine 12-Hour Shine Control Matte Primer
A matte option—great for oily skin types and hot climates.

MAC Cosmetics
Fix+ Hydrating & Multitasking Setting Spray
The setting spray that does it all.

MAC Cosmetics
Pro Longwear Paint Pot Blendable Eye Primer + Cream Eye Shadow
The only eye primer, shadow base, and allover color you need.

Danessa Myricks Beauty
Colorfix Multi-Use Waterproof Liquid Pigment
Another eye base that every makeup artist keeps in their kit for ultra-long-lasting looks.
2. Layer Strategically
“The key to long-lasting glam is strategic layering,” says celebrity makeup artist Kasey Spickard. The MUA, who creates long-wear looks on Jenna Lyons, Ciara Miller, and more for never-ending event days and press runs, has more than a few tricks up his sleeves when it comes to bulletproof beauty. Both he and Keehus agree that this layering act is about building coverage with thin layers of cream and powder, utilizing waterproof products (and sweatproof!) whenever possible. Keehus says this helps the products look “fused into the skin” instead of sitting on top, which can happen if you use too heavy a hand.
Keehus’s pro tip? Use a setting spray between these layers. The makeup artist prefers to mist MAC’s Fix+ setting spray before, during, and after the complexion routine to ensure maximum wear. “I find that continuously reintroducing light hydration keeps the skin balanced and prevents texture or caking,” she explains. “It also helps stop product from clinging to dry areas, which makes a big difference in how the makeup wears throughout the day.”

Pro Tip: Blush is usually the first makeup to fade, but Spickard trusts his “blush sandwich” layering technique for all-day wear. Start with a layer of cream blush, then swirl on a bit of powder blush before stippling a final layer of cream blush for a skin-like glow. “The powder acts as an adhesive to lock that blush in and make sure that it lasts all day [and night],” he explains.
Shop the Step

Neutrogena
Healthy Glow Creamy Blush Stick
Spickard’s go-to cream blush these days.

Nars
Talc-Free Powder Blush
The powder blush I trust for long-wear performance with a natural finish.

Westman Atelier
Baby Cheeks Blush Stick
3. Let It Dry
I know it’s tempting to blend your concealer the second it hits your under-eyes, but listen to the pros, and put the brush down. “Letting the concealer dry down was one of my aha moments for long-wearing makeup,” says Spickard. The MUA recommends letting the formula sit on your skin for at least a minute before blending it out with a dense concealer brush or damp beauty sponge in a tapping motion, not a sweeping one. “That tapping motion is going to give you the most coverage,” he explains.
Spickard says that in waiting for the concealer to set before blending, the fixing agents in the formula will begin to settle, thus depositing controlled coverage. “You’ll actually need less powder to lock it in,” he adds. The makeup artist calls the immediate follow-up with powder over concealer “one of the biggest mistakes” people consistently make. “It creates an almost gummy texture, and that’s when you start to see more cakiness,” he elaborates. In short, put the brush down!
Shop the Step

Makeup by Mario
Surrealskin Awakening Concealer
A self-setting concealer that does half the work for you.

Haus Labs
Triclone Skin Tech Hydrating + De-Puffing Concealer

Nars
Soft Matte Complete Full Coverage Longwear Concealer
My personal recommendation for buildable coverage and a natural finish that will last all day and night.
4. Set Your Face
Though we’ve been taking the proper measures to “cocktail” our skin with setting spray in between layers, the pros would be remiss to leave setting powder out of the conversation. Keehus says that loose setting powder is an essential step, but one to use strategically. “I used to think more setting meant longer wear, but I learned that applying a very light amount of loose powder—only in areas that tend to crease—makes such a difference,” she explained. On me, the makeup artist concentrated it under the eyes. “It keeps the skin looking fresh instead of dry or heavy,” she adds.

Spickard personally recommends the Givenchy Prisme Libre and the Huda Beauty Easy Bake formulas for sealing cream formulas. Though he says the setting spray dance continues for extended wear. After letting the powder sit for a moment, he follows with a “wet” setting spray—Urban Decay’s All Nighter being his choice. Once that layer dries, he tops everything off with an aerosol setting spray for extra protection, specifically highlighting the One Size On ’Til Dawn and L’Oréal Paris Infallible 3-Second setting mists. “When you layer these products correctly, the makeup really grips onto the skin and stays locked in place for hours.”
Pro Tip: To preserve your contour and highlight, invest in both brightening and deep loose powders to layer over your cream products. “This keeps the tone balanced without losing the intensity or sculpting you’ve already created. [Plus] it helps lock everything in,” Spickard explains. Loose powder can also be used to blend eye shadow, too. “If I’m creating a sultry, smoky eye, I’ll take a small duo-fiber brush with a touch of translucent powder and lightly dust it over the eye,” says Keehus. “It softly sets everything without dulling the dimension, and it really helps the blend look seamless.”
Shop the Step

Givenchy
Prisme Libre Illuminating & Color Correcting Loose Powder
The finely milled loose powder that Spickard personally recommends.

One/Size
On ‘Til Dawn Mattifying Waterproof Setting Spray
A beloved editor- and fan-favorite setting spray with major long-wear hold.

L’Oréal
Infallible 3-Second Setting Mist Spray
Performance-grade wear at a drugstore price.
5. Seal the Look
Perhaps the most advanced step of this process is this (practically) final one. Professional makeup artists everywhere call Inglot’s Duraline a staple in their kits, but we mere mortals are only experimenting with this look-preserving product now. “It’s a mixing medium that can be blended into liners or gel liners, and I also like layering it over pencil liners on the lips and eyes,” says Spickard. “It helps waterproof the product, locks everything in place, and makes sure it doesn’t budge.” Another alternative is Make Up For Ever’s Aqua Seal, which turns powders into long-lasting, waterproof pigments.
Pro Tip: Duraline and Aqua Seal are especially great for eyes prone to creasing, like anyone with oily lids or hooded eyes. Simply swipe the product over your eyeliner or mix it into the formula (if gel) to get the long-lasting look you desire.
Shop the Step

Inglot
Duraline Eyeliner Sealant

Make Up For Ever
Aqua Seal
Another artist-loved recommendation that Spickard keeps on hand.
6. Prepare for Touch-Ups
Makeup is, by nature, a temporary enhancer. To really prolong the lifespan of your look, you’ll need to keep a few things on hand for quick touch-ups. Spickard and Keehus both recommend storing a small kit in your bag for any necessary fixes (which won’t be many after proper prep).
Lips are the first to wear away, so Spickard recommends keeping a Make Up For Ever Artist Color Pencil Extreme Smudge-Proof Lip Liner on hand. “The formula is extremely waterproof and long-lasting, which reduces the need for a full lip liner retouch,” he explains. But for extra insurance (or any events where eating and drinking are involved), Spickard suggests swapping a pencil lip liner for the Sacheu Peel Off Lip Liner stain altogether. “It helps maintain color and reduces the need to constantly reapply your lips,” he adds. Of course, we can’t forget lip balm, and Keehus remains loyal to good ol’ Aquaphor.

Brascia’s final makeup look before the 2026 Grammys
The next to erode is usually skin. I keep a small book of blotting papers in my purse to remove excess oil, as it complicates subsequent touch-ups, and spot-correct my complexion with powder products. “When I give my clients a small to-go touch-up kit, I like to include a mini powder puff that already has loose setting powder on it,” says Spickard. “I tell them to gently press that into the center of the face, the T-zone, and the under-eye area to refresh the complexion and control shine without disturbing the makeup.” While thin layers of powder won’t make the look cakey, layering cream over your powder-set makeup will. “It’s much better to refresh with powder and focus on lips and brows rather than adding more complexion products,” Spickard adds.
Shop the Step

Make Up For Ever
Artist Color Pencil Extreme Smudge-Proof Lip Liner
For bass-boosted longevity.

Sacheu
Stay-N Peel Off Lip Liner

DHC
100-Piece Blotting Paper Hemp Mattifying Sheets
A small investment for huge payoff.

Aquaphor
Immediate Relief Lip Repair Balm
An oldie but a goodie.
Explore More: